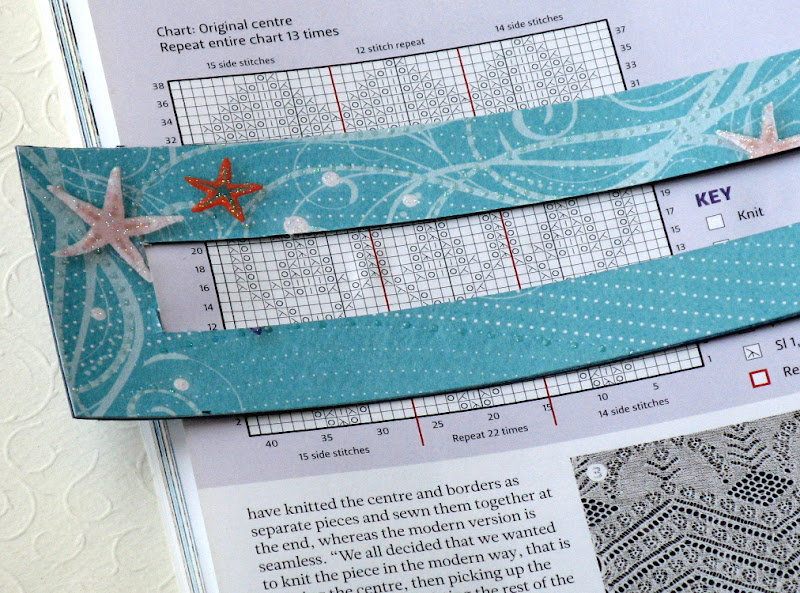
To make it easier to follow knitting charts or text lines in a pattern, you can make a simple marker out of cardboard. It is best to have the marker in a modest solid colour, but who says the other side cannot be as colourful as you like!
 You will need:
- piece of cardboard
- decorative paper (optional)
- pencil
- eraser
- ruler
- craft knife or scissors
- glue (optional)

Cut out a piece of cardboard measuring approximately 6 x 21 cm. If you would like to style it up, cut a piece of decorative paper in the same size. Glue these together and leave to dry under weight (e.g. a pile of knitting magazines).
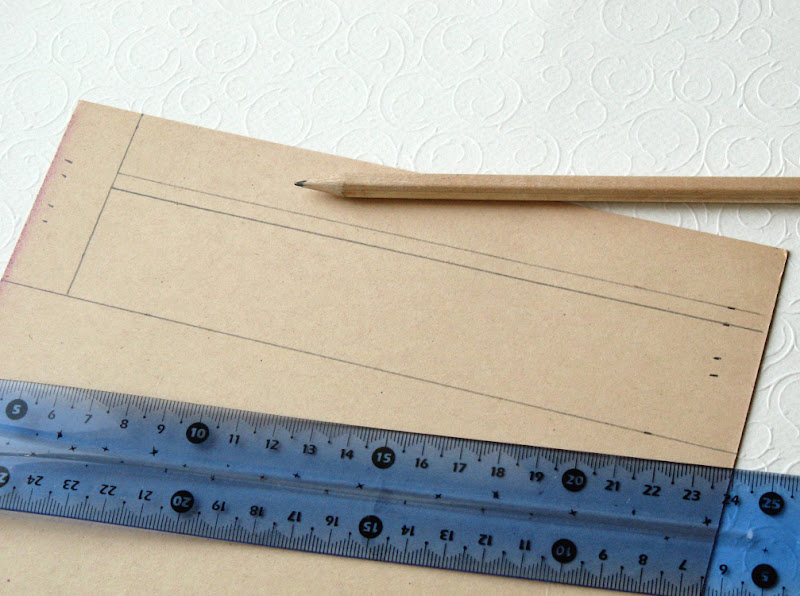
Mark a distance of 2 cm from one end of the cardboard piece. Then mark four horizontal lines at 2 cm and 2.5 cm from each long side. Cut along these four lines until the vertical end line and the ends of the narrow straps. Place some cardboard leftovers under the chart marker, if you are using a knife. Erase marked lines if necessary. And done!
This chart marker is about the width of a standard magazine.
Of course, you can make it any size that seems convenient to use.


