Showing posts with label knitting pattern. Show all posts

Friday 29 October 2021

Leaf shrug knitting pattern

Delighted to present you my knitting design that was just published in the first issue of The Valiant Tailoress magazine. The leaf-patterned lace shrug in green belongs of the The Enchanted Forest collection, which is the theme of this issue.

Leaf shrug
© The Valiant Tailoress


The Valiant Tailoress is not only a knitting magazine, but also includes sewing and crochet patterns for the multicrafters to create entire outfits, rather than just single garments. And with 260 pages, it's more like a beautiful and inspiring coffee table book.
The magazine can be ordered to anywhere in the world through their website The Valiant Tailoress.
The leaf shrug pattern is also available separately as a downloadable PDF on Ravelry.

The Valiant Tailoress Issue 1
© The Valiant Tailoress


It was easy to be inspired by the enchanted forest theme, since there are so many leaf stitch patterns in lace knitting. After choosing one of the most beautiful of them I added some cables to the cuffs, resembling tangled tree branches.

Green lace shrug
© The Valiant Tailoress


This sample shrug is made in Sandnesgarn Alpakka Silke (shade no. 8264) that contains 70 per cent baby alpaca and 30 per cent mulberry silk. The shrug is knitted in one piece from cuff to cuff, the sleeves in the round and the back section in between flat.

Leaf-patterned lace shrug
© The Valiant Tailoress


Monday 19 April 2021

Crinklie scarf knitting pattern

Crinklie is a narrow bias-shaped scarf for accessorising. Made in your favourite colour, it will add that little something to any outfit.
The design is based on the natural hold and texture of alternating stocking and reverse stocking stitch stripes that are given an uneven organic look.


Crinklie scarf


The Crinklie scarf is approximately 10 cm (4 inches) wide and 160 cm (63 inches) long. It requires only about 240 meters (260 yards) of lace weight yarn, which is less than a 50 g skein. Of course, it can be knitted in other sizes and yarn weights as well.
The scarf is easy to make, as it only takes basic knitting and purling and some increasing and decreasing skills, which are explained in the pattern. The pattern also contains both written instructions and charts.

The pattern is available on Ravelry.


Lace-weight scarf


This sample scarf is knitted in Malabrigo Yarn Silkpaca (shade Piedras) that contains 70 per cent alpaca and 30 per cent silk.


Textured bias scarf


Crinklie scarf is perfect as a quick little spring knit to refresh the wardrobe.


Knitted silk scarf


Thursday 31 January 2013

Narkissa gloves

The fabulous winter issue of Clotheshorse Magazine is out now and I am delighted to have one of my designs included, the Narkissa gloves. Clotheshorse is a trendy webzine published three times a year, featuring knitting and crochet patterns in several themed collections with each issue.

Narkissa gloves
© Clotheshorse Magazine

These are opera length fingerless gloves in wide ribbing (for a perfect fit), decorated with lace insertions at both ends. The gloves are knitted starting from the fingers' end, so it is very convenient to try them on while working.

Narkissa gloves
© Clotheshorse Magazine


Sunday 23 September 2012

Argyle Autumn

Classic argyle pattern can be seen on all sorts of knitwear and hosiery, but it is always more fun to find things in a little unexpected places. I used the repeating pattern in a scarf that is basically a closed loop tube worked in the round, as this seemed like the best way to incorporate stranded colourwork.

Argyle autumn tube scarf

The pattern for this scarf can be found in the newly published Knit Now, Issue 13.
Knit Now is a terrific UK based magazine, concentrating mainly on trendy accessories and quick little knits.

Knit Now Issue 13 September 2012
© Practical Publishing


Choosing, which colours to use in this scarf, was quite easy: something blue to go well with denim and something contrasting like the autumn sun. It would be really exciting to see the scarf in other colour combinations.

Argyle autumn tube scarf
© Practical Publishing

Argyle autumn tube scarf
© Practical Publishing


The styling and setting is just lovely. I do hope to visit the English countryside someday - some autumn, preferably.

Argyle autumn tube scarf
© Practical Publishing


This sample scarf was knitted using the wonderfully soft Artesano Superwash Merino yarn in shades Navy, Sand Yellow and Grey.

Artesano Superwash MerinoArtesano Superwash MerinoArtesano Superwash Merino


Friday 9 March 2012

Between the Lines fingerless gloves pattern

These gloves feature simple vertical stripes with a twist: easy colourwork and a few cable crossings on thumb and at the back of the hand. Thumb gusset shaping ensures a good fit and knitting with two yarns makes the gloves wonderfully warm.

Striped gloves


The fingerless gloves fit an average woman's hand and are approximately 19 cm (7.5'') long. Only 25 g (100 yds) of fingering weight yarn in each colour is required.

The pattern is available on Ravelry and on my pattern page.

Glove thumb gusset


Green and brown fingerless gloves


Knitted colorwork mittens


The sample gloves are knitted with Garnstudio DROPS BabyAlpaca Silk, shades No. 5670 (brown) and No. 7820 (green).

Knitted colorwork mittensKnitted colorwork mittens

Sunday 21 August 2011

Fall for Blues cowl pattern

Thin cables running across the soft textured surface keep this cowl comfortably around neck, while its height is enough to cover one's head and ears in cold winds.
The cowl is easy to knit and finish, it is worked in the round on circular needles as one piece.

Fall for Blues cowl


The cowl requires four 50 g balls of DK weight yarn, but naturally, it can be worked in lighter and heavier yarn weights just as well.

The pattern is available on Ravelry.

Fall for Blues cowl


Fall for Blues cowl


The sample is knitted in Schachenmayr Nomotta's Extra Merino, shade no. 56. Because of its loose twist, needles sometimes get lost between the threads, but that also makes the yarn so wonderfully soft and fluffy. It is also a very convenient centre-pull ball.

Schachenmayr nomotta Extra Merino

Friday 1 July 2011

Allegretto shawl pattern

This is a knitting pattern for a light and cheerful lace shawl with plenty of air and texture: long zigzag rows blending into a narrow trellis lace edging all around.
It is a relatively quick and easy lace knitting project, since the shawl is worked in one piece without any grafting, picking up stitches or difficult techniques.

Allegretto Shawl


The shawl requires one 100 g skein of lace weight yarn - approximately 800 m or 850 yds. Naturally, it can be worked in lighter and heavier yarn weights as well.

The pattern is available on Ravelry and YarnCanada shop.

Some help with lace cast-on and bind-off methods can be found in this post.

Allegretto Shawl

Allegretto Shawl

Allegretto Shawl


The sample shawl is knitted in Madelinetosh Tosh Lace hand-dyed yarn, shade Corsage:

Madelinetosh Tosh Lace Corsage

Friday 22 April 2011

Mystic Forest shawl pattern

Inspired by nature itself, with its mysterious tree leaves and unknown undergrowth plants of a dark green forest, this lace shawl is just waiting to be knitted and become the best companion for chilly summer nights.
The shawl consists of the main section and the lace edging that is knitted onto the centre part using circular needles. The pattern has both lace charts and text instructions. Have fun!

Download the knitting pattern as a pdf file on Google Docs or Ravelry.


Oops! (Errata)
Rd1 of the written edging pattern should read:
[k5to3, k3, sk2p, k3] until last 4 sts of the side, k5to3, k1 to corner st

Not a tremendous issue, but one good tip slipped away from the pattern: for casting on the centre section, use needles one size larger than those for knitting, this will ensure the edge to stretch enough during blocking.


Below are some techniques explained. There are also more photos of the shawl at the bottom of this post.

Stretchy knitted cast-on
This technique looks more like making a crochet chain, but the edge will remain stretchy enough for blocking your knitwork.
Start with making a slipknot onto the left needle, knit a stitch out of it, but do not slip it off the needle yet. Place the newly made stitch onto the left needle next to the slipknot (first stitch), still not removing the right needle. Instead knit a next stitch by pulling the yarn through the same loop. Continue making the stitches onto the left needle.

Lace bobble (nupp)
Bobble in this pattern refers to ’nupp’ of Estonian lace knitting.
Knit 5 (or 7 or 9) stitches out of the same stitch while holding the stitch on the left needle and alternating knit stitches with yarnovers. Pull those new stitches at least 1 cm long, otherwise you will run into a lot of trouble on the WS row. Sharp pointed needles are also recommended for nupp making. Purl all strands together on WS row and pull the stitch tight around needle.

Knit 5 stitches into 3 stitches
Knit 3 stitches together without slipping them off the left needle and knit 5 stitches out of this loop as in making the bobble, but without pulling the stitches longer than usual. Purl all strands individually on WS row to have 5 stitches. The k2to3 is made similarly.

K2tog cast-off
This technique will ensure the other edge of the knitwork to be stretchy as well. Working with medium tension will be best.
Slip the first stitch and knit the second one, then place them both back to the left needle without removing the right needle from the loops and knit together through the back loops. Knit the next stitch and knit two stitches together the same way.

These knitting stitches and techniques are best described in books The Haapsalu Shawl, The Haapsalu Scarf and Knitted Lace of Estonia.


If this shawl seems too difficult or time-consuming, you could start with the much easier Allegretto shawl that is worked in one piece and uses a simpler stitch pattern, or the easy little Crinklie scarf.


Sunday 5 December 2010

Confitería gift bag pattern

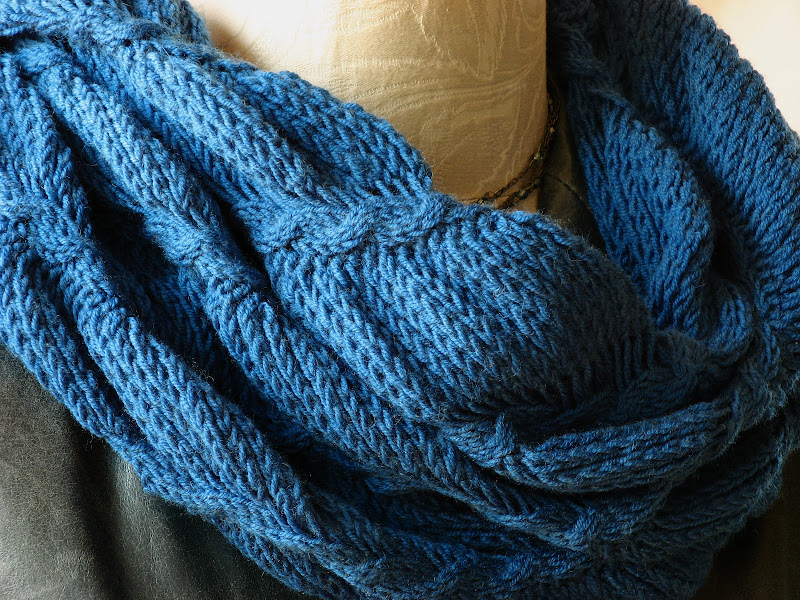
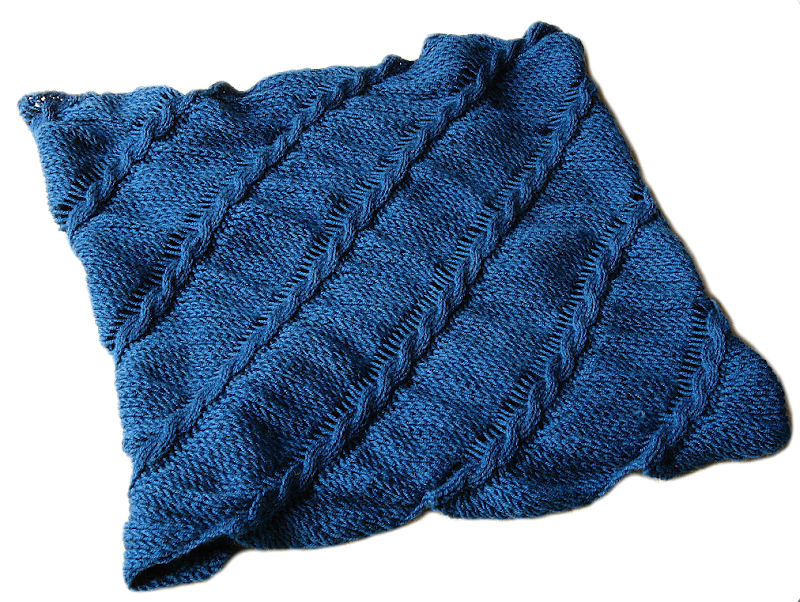
Sometimes it is not about what you give as a gift, but the good thoughts and wishes behind it and how it's presented. Lots of warmth can be added by making the gift wrap with your own hands, therefore I designed a small pouch to knit just before Christmas.
With sport weight yarn the bag will be approximately 8 cm or 3 inches in diameter. And you can easily turn the pouch into a bottle cozy by knitting it taller.

Für deutsche Anleitung bitte runter scrollen!


Material:
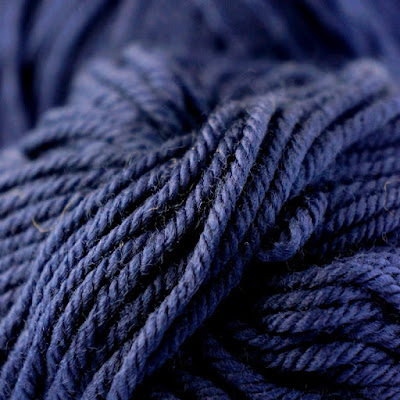
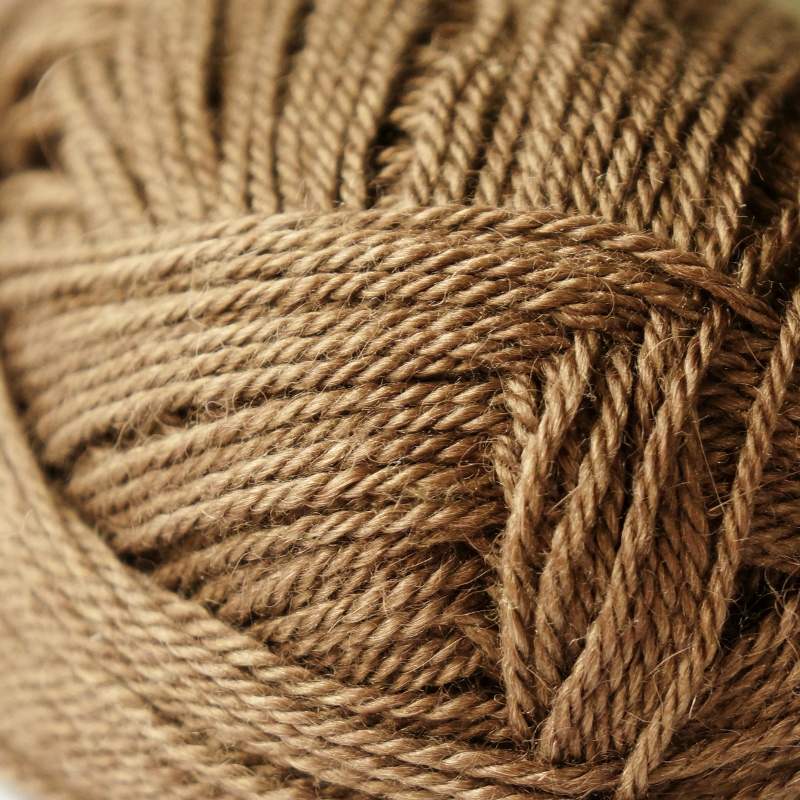
• Yarn approximately 20 g/0.7 oz, tension 22-26 st per 10 cm/4 in
  (cotton works best, wool might be too soft to stay in shape)
• Double pointed needles 3 mm/US 2½
• Ribbon

*...* – repeat the pattern between asterisks

A
Cast on 48 stitches.
Rd 1, 3 Purl all stitches
Rd 2 Knit all stitches
B
Rd 4 *k1, yo, k2, sl2 knitwise, k1, p2sso, k2, yo*
Rd 5, 7, 9 Knit all stitches
Rd 6 *k2, yo, k1, sl2 knitwise, k1, p2sso, k1, yo, k1*
Rd 8 *k3, yo, sl2 knitwise, k1, p2sso, yo, k2*
C
Rd 10 *k4, yo, k1, k2tog, k1*
Rd 11, 13, 14, 15 Knit all stitches
Rd 12 *k1, sl1, k1, psso, k1, yo, k1, yo, k1, k2tog*
Repeat rounds 10-15 six times or until desired height of the bag.
D
Rd 16 *k3, sl2 knitwise, k1, p2sso, k2*
Rd 17 *p3, k1, p2*
Rd 18 Knit all stitches
Work rounds 17 and 18 alternatively for seven rounds.
Rd 19 *k2, sl2 knitwise, k1, p2sso, k1*
Rd 20, 22 *p2, k1, p1*
Rd 21 Knit all stitches
Rd 23 *k1, sl2 knitwise, k1, p2sso*
Rd 24 *p1, k1*
Rd 25 *k2tog*
Pull the yarn through the remaining stitches, fasten and weave in the ends. Wash and block on a jar, if necessary. Add a ribbon through the holes of round 8.


The knitting chart:


Notes:
Found a great video tutorial on the double decrease or sl2 knitwise, k1, p2sso used in this pattern.

The pdf-version of the pattern in both languages is available as a Ravelry download. Feel free to post a link of your finished work in the comments or send me a photo. All comments and questions are welcome.


* * *

Strickanleitung für Geschenkbeutel
Manchmal ist es nicht so wichtig, was man schenkt, aber wie es gemacht wird und natürlich die gute Wünsche und Gedanken dahinten. Es gibt noch genügend Zeit bis Weihnachten, um diesen kleinen Geschenkbeutel zu stricken und mit selbstgemachter Verpackung noch mehr Herzlichkeit schenken.
Mit dünnerem Garn oder Sockenwolle gestrickt wird der Beutel mit einem Durchmesser von etwa 8 cm. Und höher gestrickt bekommt man eine tolle Flaschenhülle.


Material:
• Dünneres Garn etwa 20 g (Maschenprobe 22-26 M/10 cm)
• Nadelspiel 3 mm
• Satinband

Strickschrift: siehe oben

*...* – wiederholen

A
48 M anschlagen.
Rd 1, 3 Alle Maschen links str
Rd 2 Alle Maschen rechts str
B
Rd 4 *1 M re, 1 U, 2 M re, 2 M re abheben, 1 M re, 2 abgehob M darüber ziehen, 2 M re, 1 U*
Rd 5, 7, 9 Alle Maschen rechts str
Rd 6 *2 M re, 1 U, 1 M re, 2 M re abheben, 1 M re, 2 abgehob M darüber ziehen, 1 M re, 1 U, 1 M re*
Rd 8 *3 M re, 1 U, 2 M re abheben, 1 M re, 2 abgehob M darüber ziehen, 1 U, 2 M re*
C
Rd 10 *4 M re, 1 U, 1 M re, 2 M re zus str, 1 M re*
Rd 11, 13, 14, 15 Alle Maschen rechts str
Rd 12 *1 M re, 2 M re überzog zus str, 1 M re, 1 U, 1 M re, 1 U, 1 M re, 2 M re zus str *
Runden 10 bis 15 sechs Mal oder bis auf gewünschte Höhe wiederholen.
D
Rd 16 *3 M re, 2 M re abheben, 1 M re, 2 abgehob M darüber ziehen, 2 M re*
Rd 17 *3 M li, 1 M re, 2 M li*
Rd 18 Alle Maschen rechts str
Runden 17 und 18 wechselnd über sieben Runden wiederholen.
Rd 19 *2 M re, 2 M re abheben, 1 M re, 2 abgehob M darüber ziehen, 1 M re*
Rd 20, 22 *2 M li, 1 M re, 1 M li*
Rd 21 Alle Maschen rechts str
Rd 23 *1 M re, 2 M re abheben, 1 M re, 2 abgehob M darüber ziehen*
Rd 24 *1 M li, 1 M re*
Rd 25 *2 M re zus str*
Die restlichen Maschen mit dem Endfaden zusammenziehen, beide Endfaden nach innen gut verknoten und in die Arbeit vernähen. Ein Satinband durch die Umschlag-Löcher der Runde 8 ziehen.


Ich würde gerne nach dieser Anleitung gestrickte Beutelchen hier vorstellen, ihr könnt ein Link zu eurem Blog als Kommentar posten oder Fotos per E-Mail schicken. Alle Fragen und Kommentare sind auch willkommen.

Monday 25 October 2010

Cool Current wristwarmers pattern

Keep your hands warm with these wristwarmers like flowing currents when taking a stroll by the water. Or make a holiday gift – today is a good day to start. The cuffs or wristwarmers are an easy one skein project for softer yarns. My sample is knitted with pure alpaca wool Indiecita by Filcolana, colour 228.

Für deutsche Anleitung bitte runter scrollen!


Materials:
• Fingering weight yarn approximately 50 g/1.7 oz, 160 m/176 yds, gauge 26-30 stitches per 10 cm/4 in
• Double pointed needles 3 mm/US 2½
• Cable needle
• Stitch marker

Here is the knitting chart followed by written instructions:


*...* – repeat the pattern between asterisks
skp – slip 1, knit 1, pass slipped stitch over
c3f – cable 3 front

A
Cast on 56 stitches, divide sts onto 3 or 4 needles and join to work in the round. Place marker to indicate the beginning of round.
Rd 1 *k4, p4*
Not too convenient to handle the first rounds on double pointed needles, but it gets easier round by round. If the yarn is very slippery, use bamboo or wooden needles.
B
Rd 2 *k2, skp, k1, k2tog, yo, k1, yo*
Rd 3 knit all stitches
Repeat rounds 2 and 3 until work measures 31 rounds or 7 cm/3 in.
C
Rd 32 *slip next 3 stitches to a cable needle in front of work, k3, k3 from the cable needle, k2tog, yo*
Rd 33 *p3, k5*
That was the most difficult part, from now on it goes much faster towards the end.
D
Rd 34 *p3, k3, k2tog, yo*
Rd 35 *p3, k5*
Repeat rounds 34 and 35 until desired length.
Cast off all stitches (*p3, k5*). Bind off yarn and weave in the ends.
Knit the other wristwarmer the same way.
All done now – time to admire your work!

Notes:
• When using other gauges, increase or decrease the stitch count, keeping it a multiple of 8
• If not sure how long wristwarmers your yarn will be enough for, weigh the skein every now and then while knitting the first one and cast off when half of the skein is knitted
• Help for knitting abbreviations can be found in lots of places, e.g. Knittingfool, KnittingHelp, Vogue Knitting


I would love to show off your finished work, so feel free to post a link in the comments or send me a photo. All comments and questions are mostly appreciated, my e-mail address can be found on my profile. Thank you for taking the time to try it out!


* * *

Strickanleitung für Armstulpen
Ob für einen Spaziergang entlang des Ufers oder als Weihnachtsgeschenk vorgesehen – heute ist ein guter Tag mit diesen „fließenden“ Armstulpen anzufangen. Die Stulpen sind ziemlich einfach zu stricken und dafür braucht man nur ein Knäuel. Ich habe reine Alpakawolle, das Indiecita von Filcolana, Farbe 228 verwendet.


Material:
• Dünneres Garn etwa 50 g/160 m (Maschenprobe 26-30 M/10 cm)
• Nadelspiel 3 mm
• Zopf- oder Hilfsnadel

Strickschrift:


*...* – wiederholen

A
56 M anschlagen.
Rd 1 *4 M re, 4 M li*
B
Rd 2 *2 M re, 2 M re überzogen zus str, 1 M re, 2 M re zus str, 1 U, 1 M re, 1 U*
Rd 3 Alle Maschen rechts str
Runden 2 und 3 wiederholen, bis die Arbeit 7 cm oder 31 Runden hoch ist.
C
Rd 32 *3 M vor die Arbeit legen, 3 M re, 3 M der Hilfsnadel re str, 2 M re zus str, 1 U*
Rd 33 *3 M li, 5 M re*
D
Rd 34 *3 M li, 3 M re, 2 M re zus str, 1 U*
Rd 35 *3 M li, 5 M re*
Runden 34 und 35 bis auf gewünschte Länge wiederholen.
Alle Maschen abketten (*3 M li, 5 M re*), Garn abschneiden und in die Arbeit verstecken.
Die andere Stulpe genauso stricken und fertig!


Ich würde gerne nach dieser Anleitung gestrickte Stulpen hier vorstellen, ihr könnt ein Link zu eurem Blog als Kommentar posten oder Fotos mir per E-Mail schicken. Alle Fragen und Kommentare sind auch willkommen, meine E-Mail-Adresse ist in meinem Profil zu finden. Danke, daß ihr eure Zeit mit dieser Strickanleitung verbracht habt!